
How to Paint Your Own Interior Walls in Auckland – Step-by-Step
- Paint Pals
- Sep 17, 2025
- 3 min read
(And Why Hiring PaintPals NZ Saves You Time & Stress)
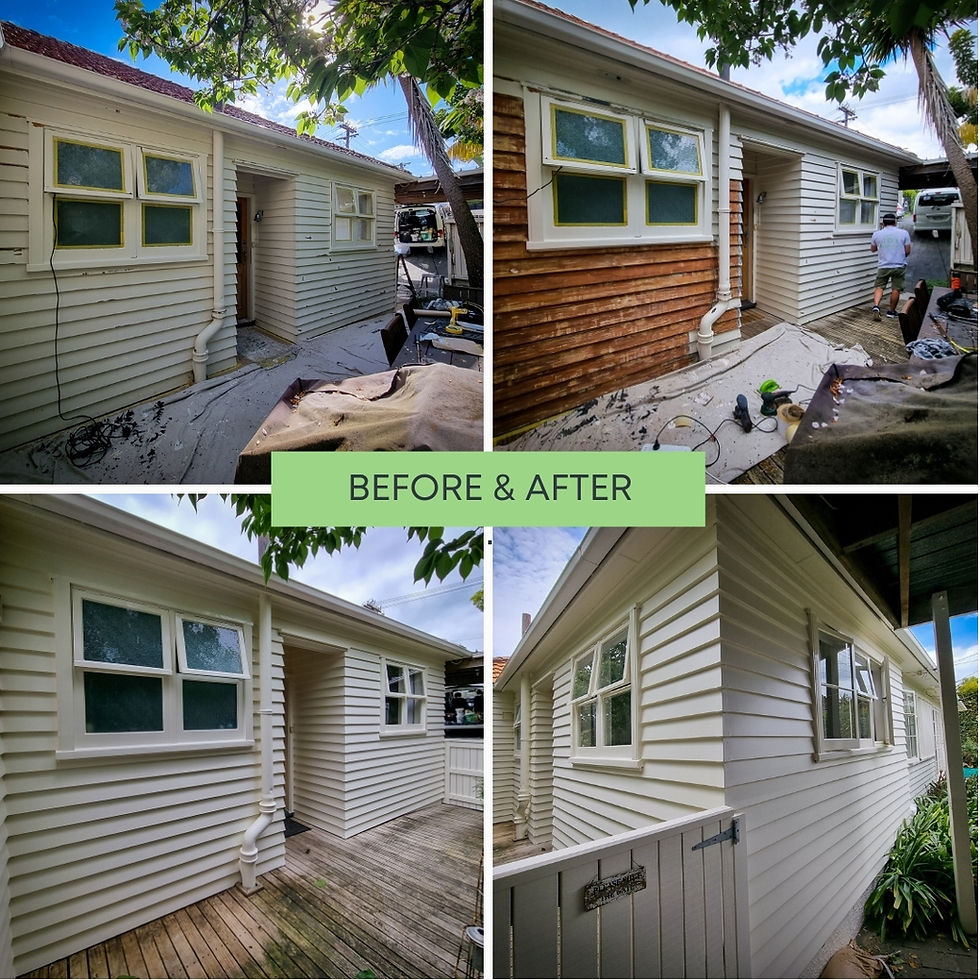
Thinking of painting your home’s interior yourself? With the right steps, you can achieve a nice finish though nothing beats the expertise of a professional team like PaintPals NZ. In this guide, we’ll walk you through the process so you understand what’s involved, and why many Aucklanders choose to save themselves the hassle by hiring experts.
Step 1: Choose the Right Paint for Auckland Conditions
Auckland’s humid climate means you need moisture-resistant, mould-inhibiting paint especially for bathrooms, kitchens, and any poorly ventilated areas.
Flat/matte finishes: Great for ceilings and low-traffic rooms
Low sheen or satin: Ideal for walls in living areas
Semi-gloss: Best for trims and doors
Satin or Semiglos for your kitchen and humus areas.

Step 2: Prepare the Room
Preparation is 70% of the work in painting. Skipping it is the fastest route to a poor finish.
Move furniture away from walls and cover with drop sheets
Remove switch plates, outlet covers, and curtain rods
Give the walls a light sand.
Clean walls with sugar soap to remove grease and dust
Sand rough areas and fill holes with filler and spot prime prime if needed.
Tape edges, skirting boards, and window frames

Pro Tip: Auckland’s older villas often have uneven walls taking extra time to sand and prime will make all the difference.
Step 3: Prime for a Perfect Base
If your walls are stained, patched, or a dark colour, or changing from oil based to water based paint, apply a primer first.
Prevents uneven absorption
Helps paint adhere better
Blocks stains from showing through

Pro Tip: Humid Auckland days can slow primer drying use fans or dehumidifiers indoors.
Step 4: Cut In Before Rolling
“Cutting in” means painting along edges and corners with a brush before rolling the main wall.
Use a high-quality angled brush
Keep a steady hand for crisp lines

Step 5: Roll On the Paint
Use a roller with the right nap (thickness) for your wall texture.
Apply paint in a ‘W’ or ‘M’ pattern for even coverage
Work top to bottom
Apply at least two coats, allowing proper drying time between

Step 6: Touch Ups & Clean Up
Check for thin spots or drips and touch up as needed
Remove tape before the paint fully dries for cleaner edges
Wash brushes and rollers promptly to preserve them

Why Most Aucklanders Skip the DIY and Call PaintPals NZ
While painting can be satisfying, here’s why many homeowners prefer hiring professionals:
Faster turnaround: Our trained team completes in days what might take you weeks
Flawless finish: No roller marks, streaks, or missed spots
No mess, no stress: We handle all prep, cleanup, and disposal
Local expertise: We choose products and methods suited for Auckland’s climate
Thinking of painting your interiors? Get a free, no-obligation quote from PaintPals NZ and see why so many Auckland homeowners trust us for the job.

Comments